
Last updated October 30, 2026
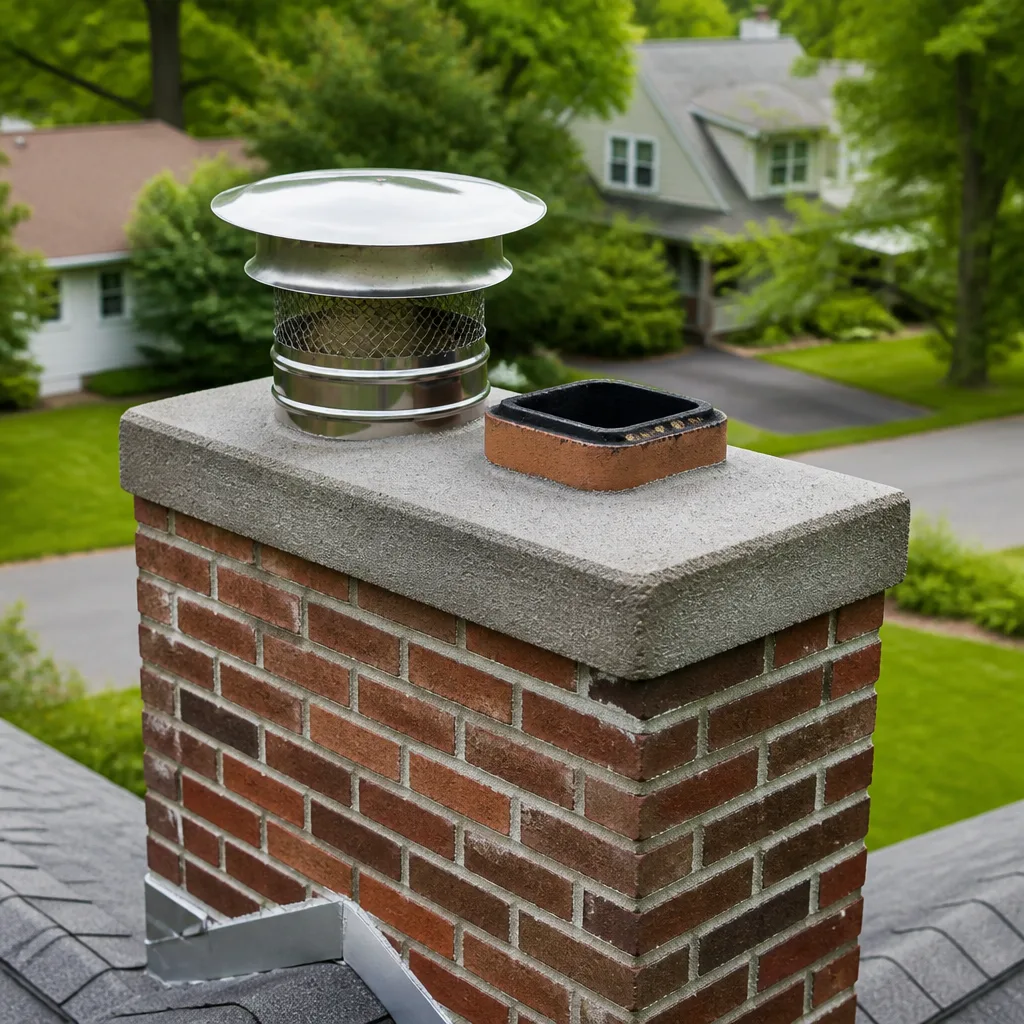 Sweep & inspection
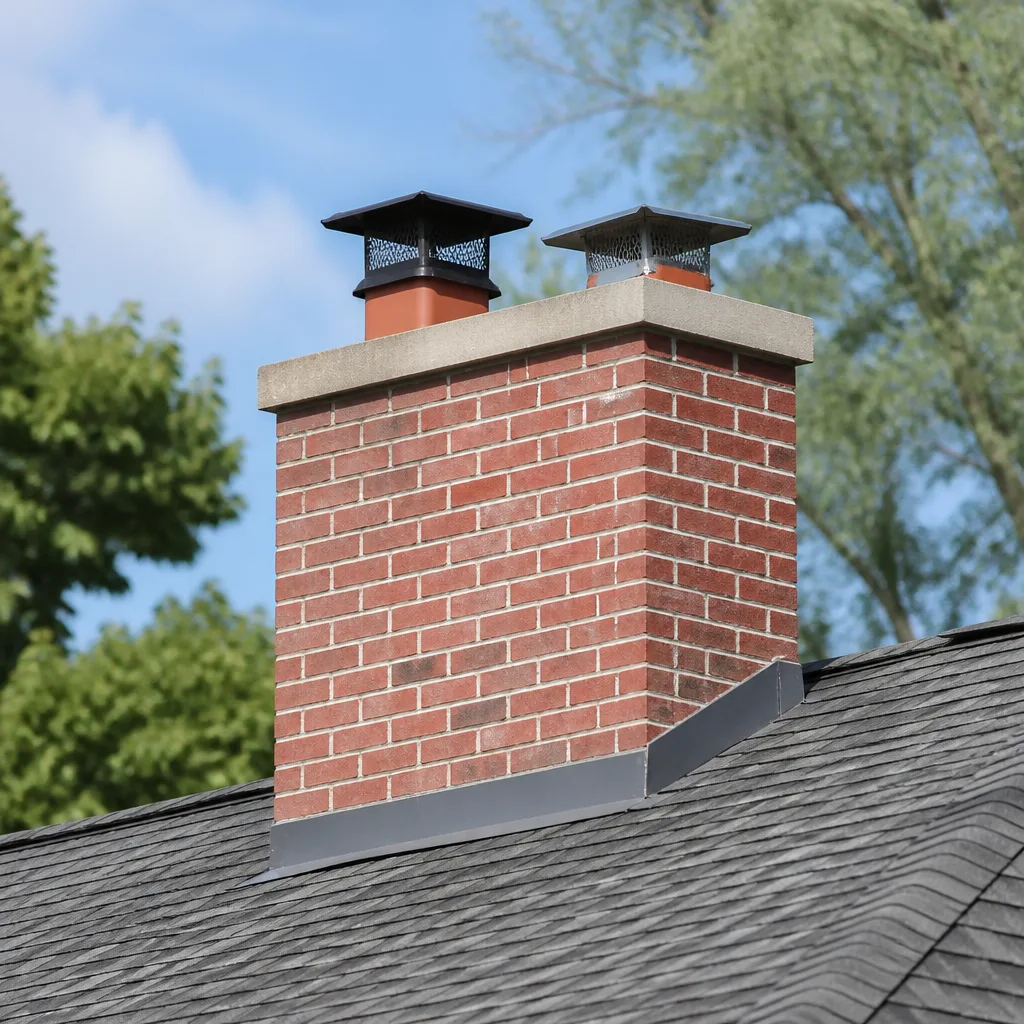 Caps & crowns
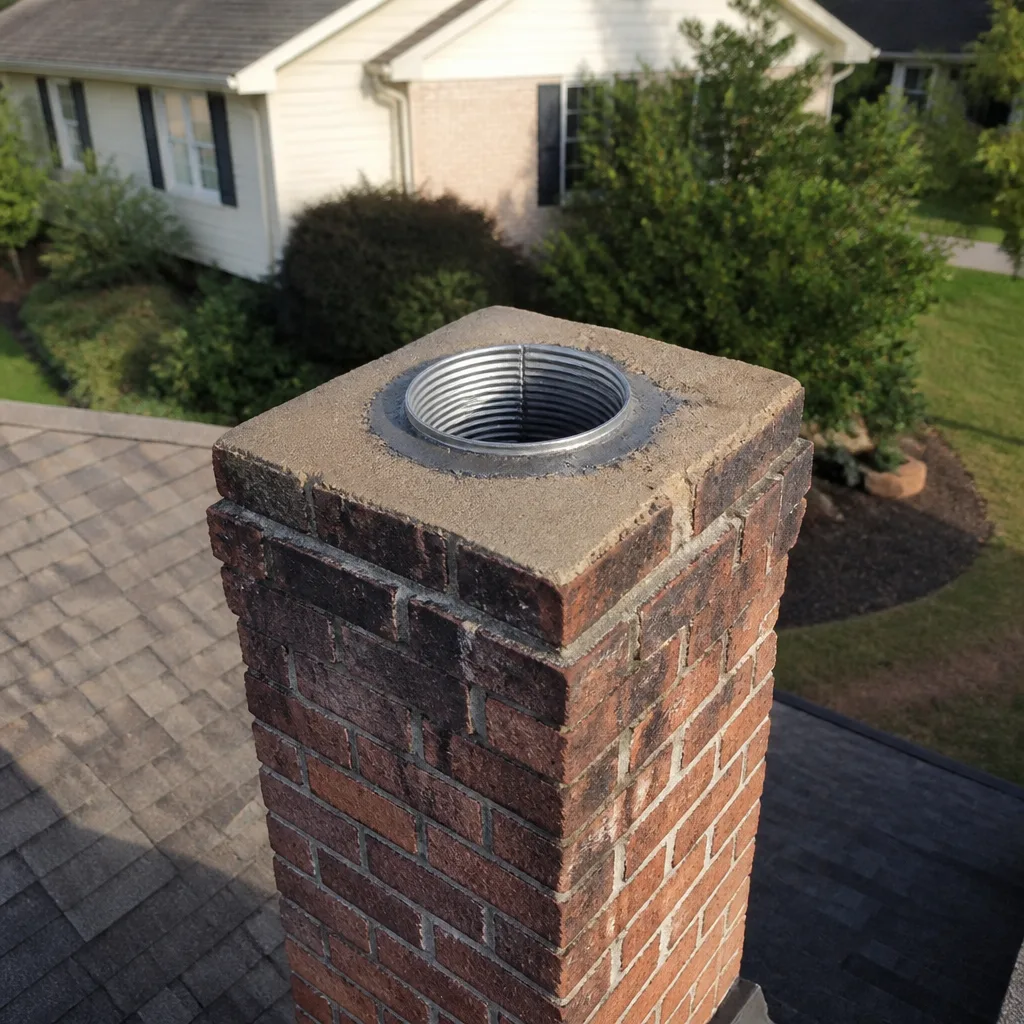 Flue relining
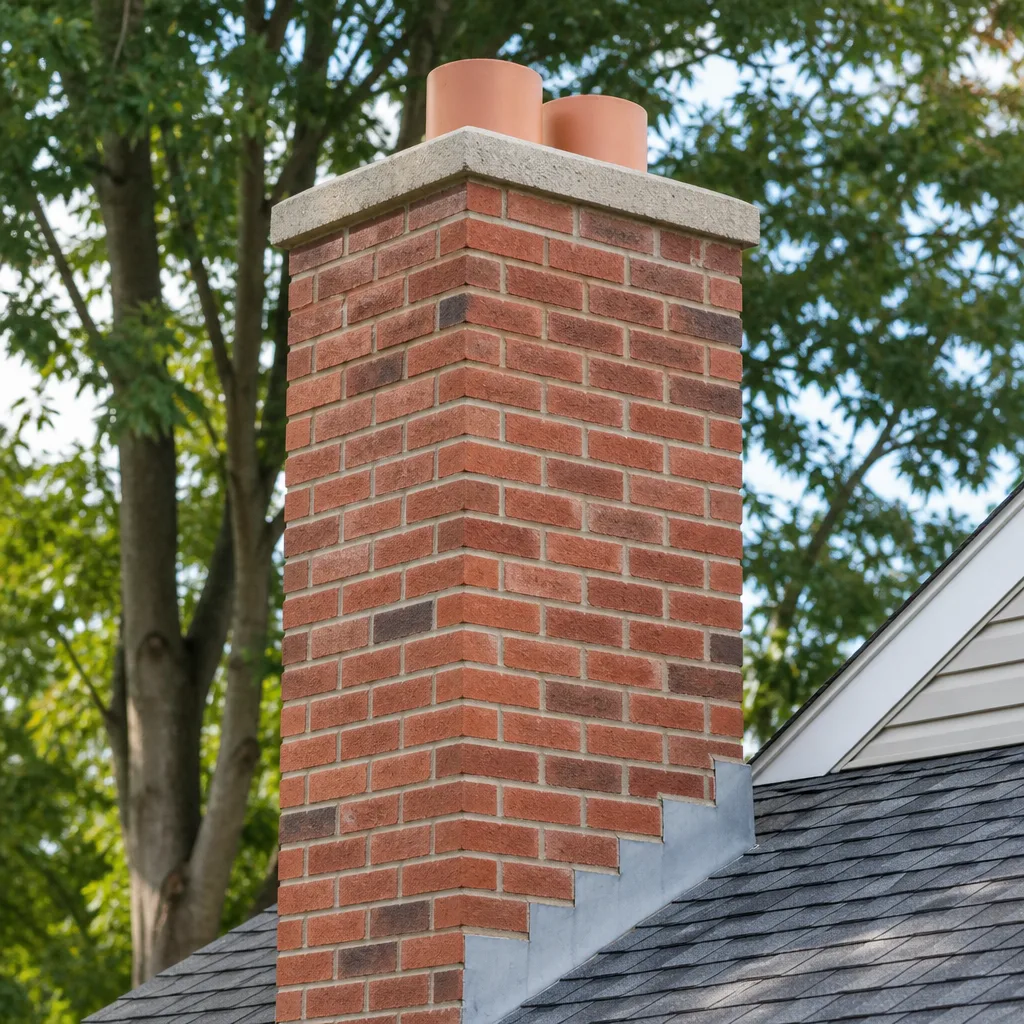 Masonry repair
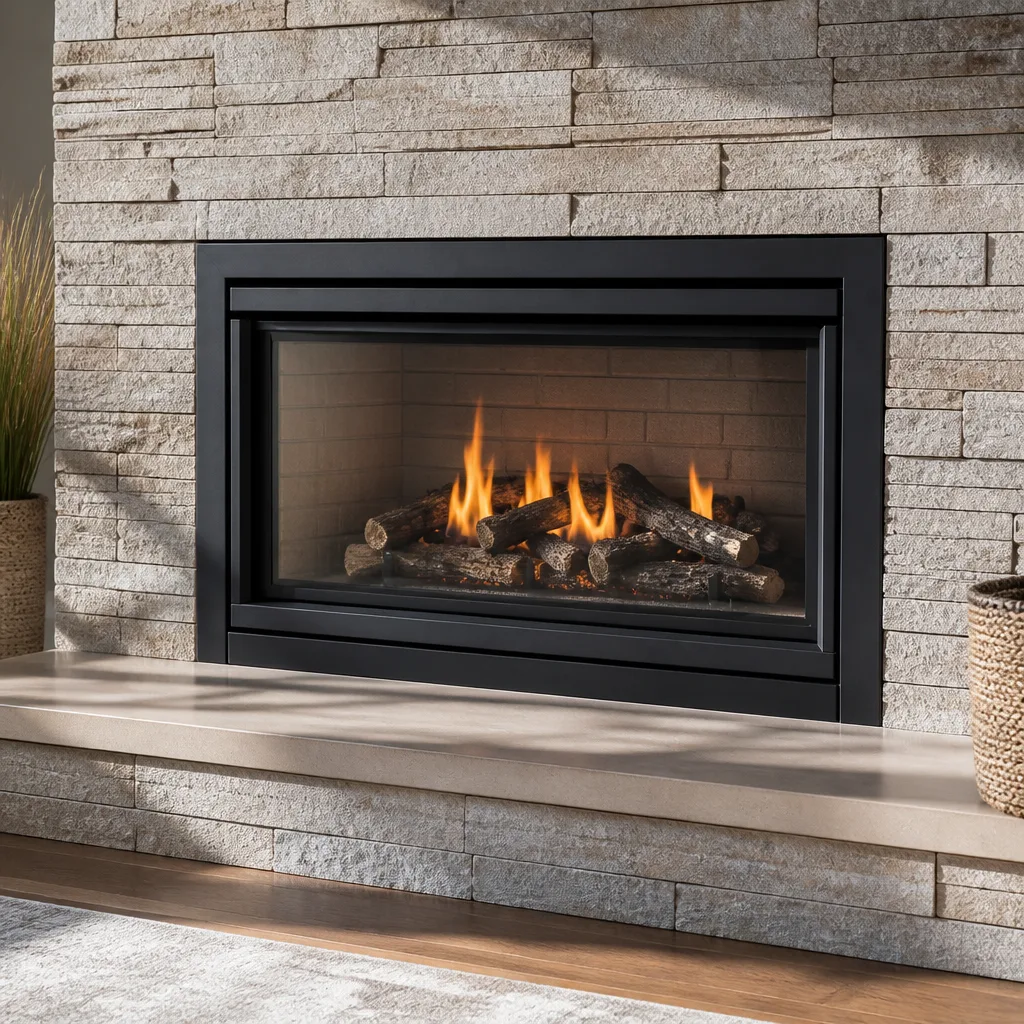 Gas fireplace service
Level 1 sweep and inspection to the NFPA 211 annual standard - flue, crown, cap, and flashing checked and photographed
Chimney sweep logs do not sweep chimneys. They loosen some creosote - which then falls where a brush and vacuum still have to collect it.
Chimney Sweep Maintenance Checklist for Rialto Homeowners
The chimney component that fails most often in Inland Empire homes isn’t the flue or the damper – it’s the mortar crown, cracked by the same 40-degree daily temperature swings that make Rialto winters feel deceptively mild. You’ll see it on stucco-clad chimneys all over this city: hairline fractures that start at the crown’s drip edge, widen through summer heat and Santa Ana wind cycles, and eventually let water migrate down into the firebox. This guide breaks down every component of a Rialto chimney so you know exactly what to inspect, what to photograph, and what belongs on our Chimney Sweep services work order. By the end, you’ll have a maintenance checklist grounded in the failure modes that actually show up in this climate, not the generic annual reminders that every other chimney company recycles.
Styles & brands we work with
Quick Answer
A proper chimney maintenance checklist for Rialto homeowners covers six components in order: crown, cap, flashing, liner, damper, and firebox. You can safely inspect the crown, cap, and flashing from the roofline with just a flashlight and your phone camera, while the liner and lower firebox require a professional flue camera. Chimney Sweep Troubleshooting: Common Problems and How to Fix Them covers what to look for when you sweep and inspect once per year before the November – January burn window, and re-check the crown within 72 hours after any Santa Ana wind event that dropped debris on your roof.
Table of Contents
- 1. The Mortar Crown: Rialto’s Most Common Failure Point
- 2. Chimney Cap and Spark Arrestor: What Gets Bent, Rusted, or Missing
- 3. Flashing at the Roofline: Where Water Gets In
- 4. The Flue Liner: What a Camera Shows That Your Eyes Miss
- 5. Damper and Firebox: Function Checks You Can Do From Inside
- 6. How to Document Chimney Condition With Your Smartphone Before Calling a Sweep
- 7. Seasonal Triggers in Rialto: When to Inspect, Not Just Annually
- Common Mistakes to Avoid
- When to Call a Professional
- Frequently Asked Questions
- The Bottom Line
1. The Mortar Crown: Rialto’s Most Common Failure Point
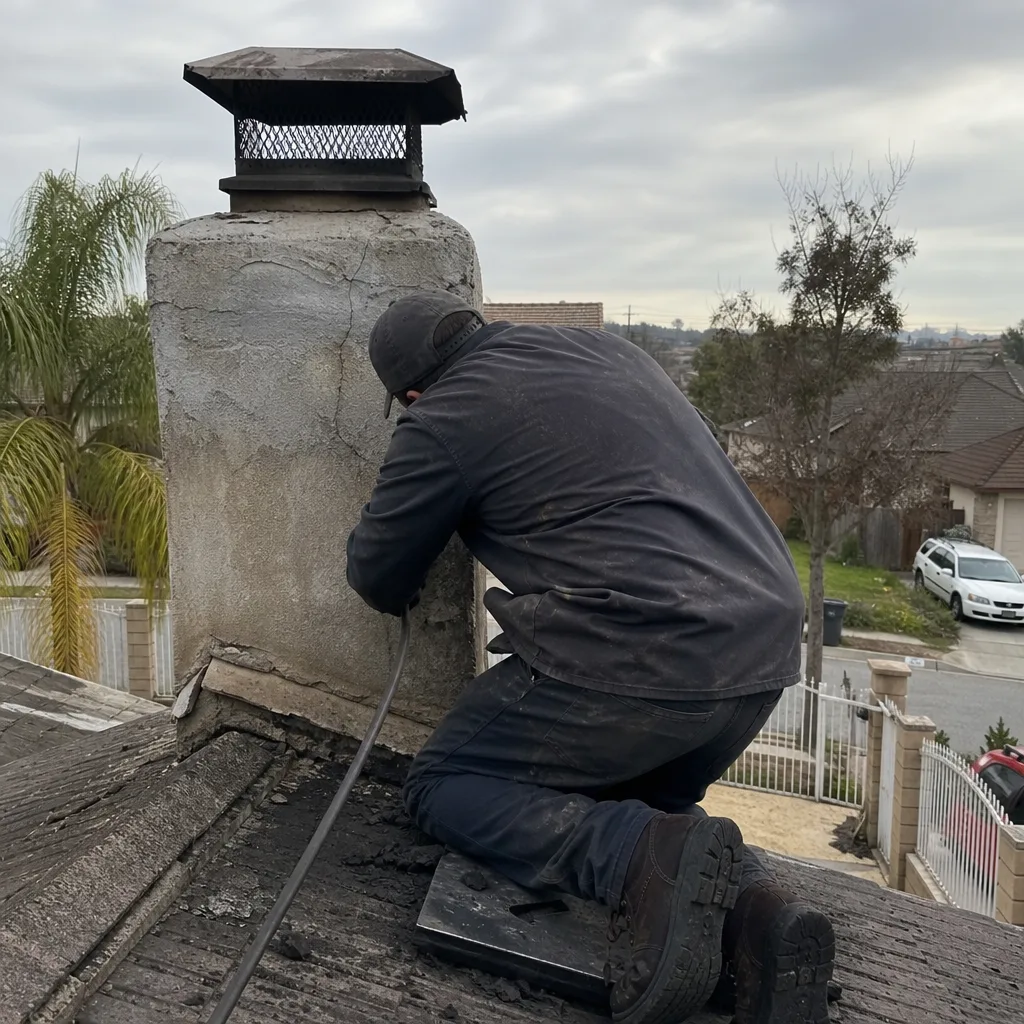
The crown is the concrete or mortar slab that caps the top of your chimney and directs water away from the flue. In Rialto, it fails faster than anywhere else in the chimney because our climate treats it like a stress-test specimen. Days in the high 90s followed by nights in the 50s creates repeated expansion and contraction. Add Santa Ana wind gusts that flex the chimney stack and you get the conditions for progressive cracking.
What to look for, in order of severity:
- Hairline cracks thinner than a credit card, usually radiating outward from the flue liner. These are early-stage, but they don’t self-heal.
- Chipped drip edge: the lip that overhangs the chimney sides by at least two inches. When it erodes or breaks, water runs down the brick instead of off the crown.
- Spalling: flakes of concrete on the roof shingles around the chimney chase. That’s your crown shedding material, and it means the damage has reached the aggregate.
- Standing water or moss: a crown with no slope or a sagging center holds water after rain. In a low-humidity climate like Rialto’s, moss reads as a persistent moisture problem, not a sign of lush weather.
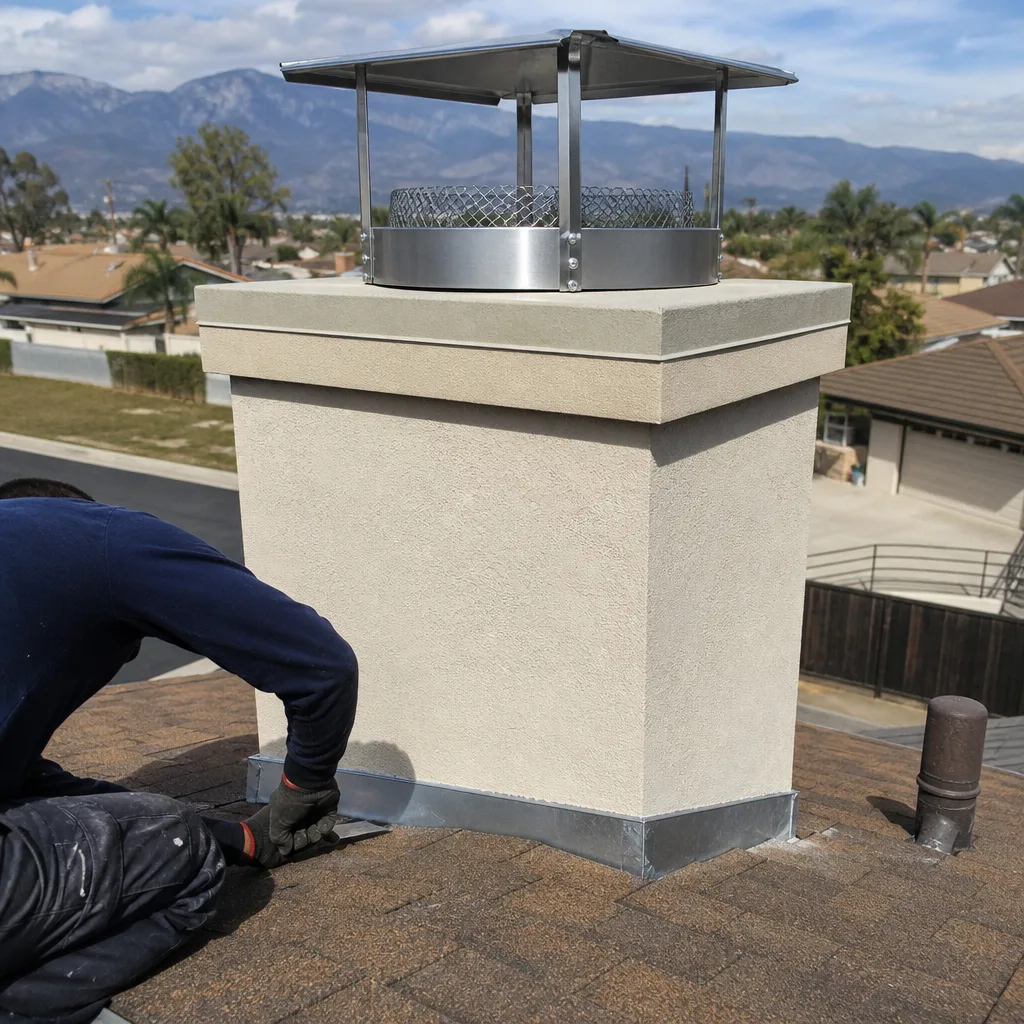
If your crown shows any of these, the fix is usually crown sealant or a poured resurface, not full chimney replacement. But do not ignore it. A failed crown is the starting point for every expensive chimney repair we see in Rialto: rotted flashing, a saturated flue liner, a cracked firebox floor, and even rusted dampers. The Chimney Repair in Rialto page details the repair methods we use when crown damage has progressed past a simple reseal.
For crown work, we specify repair products by name because generic patching cement won’t survive Inland Empire temperature cycles. Products like Gelco crown seal and coatings are formulated for exactly this kind of thermal movement. That matters in Rialto more than in a coastal city where the temperature swings are gentler.
2. Chimney Cap and Spark Arrestor: What Gets Bent, Rusted, or Missing
The cap sits on top of the flue liner and does three jobs: it keeps rain out, it keeps animals out, and it keeps sparks and embers from leaving the flue. The spark arrestor is the metal screen that wraps the cap’s sides. Both fail in predictable ways in Rialto.
Do this inspection in daylight, from a ladder placed against the chimney or a safe viewing point on the roof. Do not lean over the flue opening while checking the cap.
- Check that the cap is present and seated flat on the flue. A tilted cap means an animal tried to get under it or a wind gust shifted it.
- Look for rust at the cap’s seams and screws. Rialto’s dry air slows rust, but rain penetrates any exposed seam and moisture sits in the cap’s corners.
- Check the spark arrestor mesh for holes. Embers can pass through a hole the size of a pencil eraser. This is a fire code issue, not just a maintenance nuisance.
- Look for bird nesting material wedged between the cap and the flue tile. This is common in Rialto neighborhoods with mature eucalyptus and palm trees, which provide both nesting material and a launch point for birds.
- If the cap uses a flat sheet-metal top, confirm it’s not warped. A warped cap can press against the spark arrestor and tear it.
When we replace caps in Rialto, we install Copperfield or Choosing the Right Chimney Cleaning Brand: A Buyer’s Guide for Rialto recommends Olympia Chimney components. These brands use stainless steel or copper construction that outlasts the galvanized steel hardware-store caps. A galvanized cap on a Rialto chimney will rust through within three to five years. A Copperfield cap will still be sound a decade from now.
The cap is your cheapest insurance against the two most expensive chimney failures: water damage inside the flue and animal intrusion that blocks the vent. If your cap is missing, don’t wait for the next rain. Call the Chestnut Chimney Sweep home office and schedule the cap replacement before water does the damage for you.
3. Flashing at the Roofline: Where Water Gets In
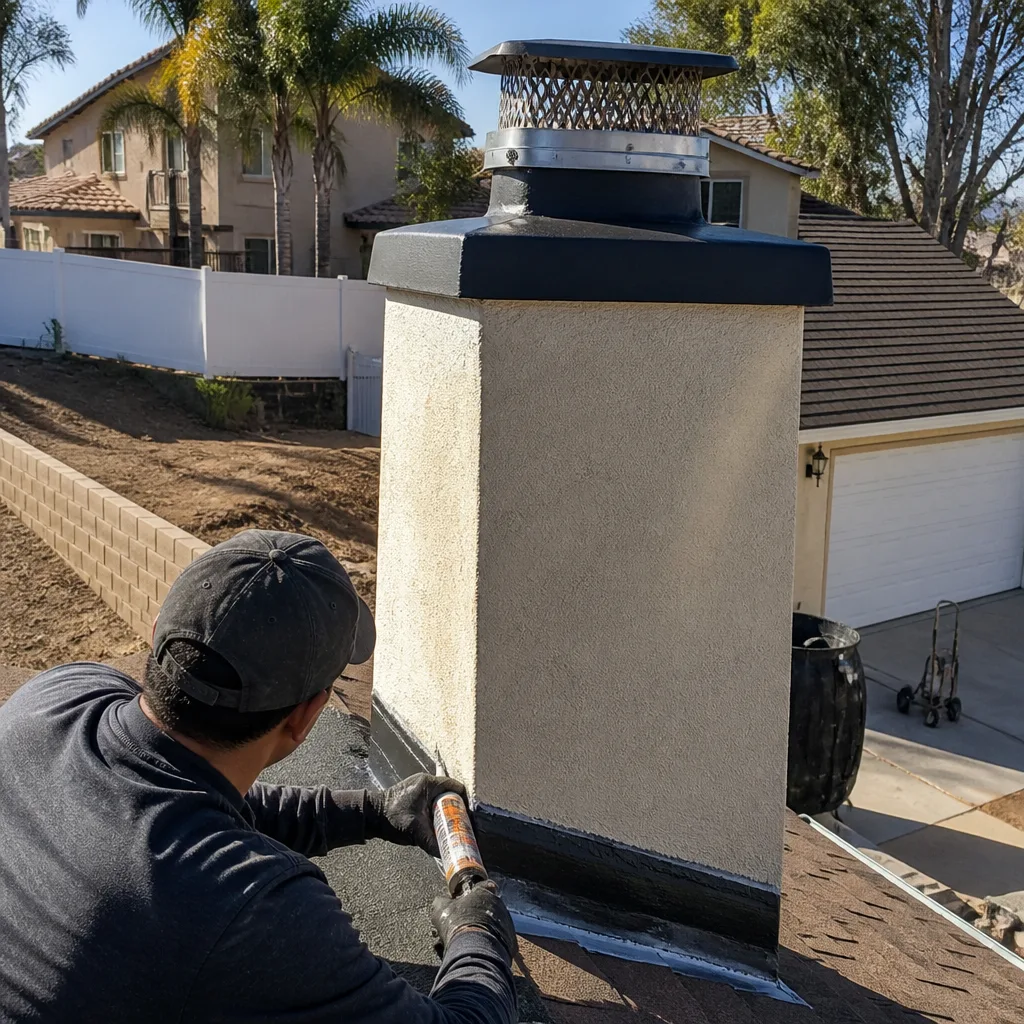
Flashing is the metal transition where your chimney passes through the roof. It’s made of two pieces: the base flashing that lies under the shingles and the counter-flashing that is embedded in the chimney’s mortar joints. The two overlap to create a water-shedding seal.
Rialto’s climate attacks flashing from both directions. UV exposure degrades the roofing cement and sealant that hold the counter-flashing in the mortar joints. And the same thermal expansion that cracks crowns also pulls counter-flashing out of its bed joint, creating a gap that rain follows straight down the chimney chase and into your ceiling.
Inspect flashing from the roof, never from a ladder propped against the chimney. Look for:
- Gaps between the counter-flashing and the mortar joint: if you can see daylight or slide a flat tool behind the metal, the seal is gone.
- Missing or cracked roofing cement at the top of the counter-flashing. In Rialto, cement dries out and crumbles within a few years.
- Rusted base flashing: especially at corners where shingle granules have worn the metal thin.
- Water stains on the ceiling near the chimney chase: this is the symptom that tells you the flashing failed weeks or months ago, not yesterday.
- Hairline tile cracks: early-stage damage. Combustion gases can migrate through these into the chimney chase and, in some configurations, into living spaces.
- Spalled liner surfaces: chunks of clay tile missing from the liner wall. This is mid-stage, and it means the flue is no longer a sealed channel.
- Flue gas staining: dark deposits that show where gas has leaked through cracks and burned onto the liner’s outer surface. Confirmation of a leak, not a suspicion.
- Broken tiles that have collapsed inward: partial or full flue blockage. Cannot be seen from either end. Thermal shock causes one cracked tile to break free and drop.
- Excess creosote loading: not a liner failure but a combustion-safety issue that the camera confirms. We note the thickness and location so the sweep targets those areas.
- Open the damper fully and look up the chimney with a flashlight. You should see light at the top. If you see nothing, the flue may be blocked.
- Close the damper and shine the flashlight across the frame. Look for gaps between the damper plate and the frame. A warped damper leaves a gap that leaks conditioned air all summer.
- Check the damper handle and linkage. If it’s stiff, rusted, or loose, the damper won’t seat properly even when you close it.
- Listen for wind noise through the closed damper during Santa Ana events. That’s a sign the damper is warped or the frame is out of alignment.
- Look at the firebrick floor and side walls. Cracks wider than a dime, loose bricks, or missing mortar joints mean the firebox has been stressed by repeated heating cycles.
- Check the lintel above the firebox opening. That’s the steel beam that supports the masonry above the opening. If it’s rusted or sagging, do not burn until a professional has evaluated it.
- Check the ash dump if your fireplace has one. It’s a metal grate in the firebox floor. A rusted or stuck grate lets air enter the firebox from below and disturbs your draft.
- Look for white staining on the firebrick. That’s efflorescence, and it means water is migrating through the masonry into the firebox. Water in the firebox usually originates at the crown or flashing above.
- Crown shot from a ladder: stand so the entire crown is in frame, with the flue opening at the center. You’re capturing cracks, chipped edges, and the crown’s slope.
- Close-up at the crown’s drip edge: get within six inches of the crack area. Use a coin or key in the frame for scale. That lets the technician gauge crack width.
- Cap close-up: a side-on shot showing the cap’s level and the spark arrestor’s mesh condition.
- Flashing overview: step back on the roof and shoot the full flashing run, then a close-up of the counter-flashing where it meets the mortar joint.
- Firebox overview from the room: one shot of the entire firebox opening, then close-ups of any cracked brick or staining.
- Damper close-up: open the damper and shoot through it with the flash on, aiming up the flue. This shows the first few feet of the flue, which often reveals creosote or a blockage.
- Date and time, so the technician knows how old the observation is.
- Which component is shown (crown, cap, flashing, etc.).
- What you see (e.g., “hairline crack at crown’s south edge, roughly two inches long”).
- What happened recently (e.g., “photo taken three days after Santa Ana wind event”).
- Relying on smoke to tell you when the chimney is blocked. By the time smoke backs up into the room, the flue has been partially blocked for weeks. The camera inspection catches it long before that.
- Using a hardware-store crown sealer on a cracked Rialto crown. Generic sealants don’t bond to the existing mortar in our thermal-cycling conditions. They crack within months. Professional crown materials are formulated for the movement.
- Skipping the spark arrestor because “the cap is fine.” The cap and the spark arrestor are different components with different failure modes. A missing or torn arrestor is a fire-code issue even when the cap is intact.
- Burning wood in a fireplace that hasn’t been inspected since before summer. Creosote from last year’s fires hardens in the flue over summer and gets easier to ignite in the dry winter air. First fire of the season is the highest-risk fire of the season.
- Repairing flashing without addressing the crown above it. Water that gets past a cracked crown will find the flashing seam, even if the flashing was just resealed. Crown first, then flashing.
- Ignoring a stiff damper handle. The handle is connected to the damper plate. When the plate binds, the handle resists. A stiff handle means the damper is warped or corroded, and that gap leaks conditioned air all summer.
- Not photographing the chimney before a repair. Good documentation is the difference between a defensible recommendation and a sales conversation. Photos create a paper trail.
Flashing repair involves resealing the counter-flashing into the mortar joint and, when the base metal is shot, replacing it with a new sheet-metal piece. It’s not a DIY job. Done badly, it leaks worse than before. Done correctly, with new flashing and a proper sealant, it solves the problem permanently.
We use professional-grade sealants and replacement flashing that is spec’d for the Rialto climate, and we address any crown damage in the same visit since crown and flashing failures usually happen together.
4. The Flue Liner: What a Camera Shows That Your Eyes Miss
The liner is the vertical channel inside your chimney that carries smoke, heat, and combustion gases up and out. In Rialto homes, liners are either clay tile, metal, or a poured-cement system. Clay tile is the most common, and it fails in this climate for one simple reason: the rapid heating and cooling of a winter fire against a liner that has been sitting in 40-degree night air creates thermal shock. Over years, that shock cracks tiles.
Here’s what matters: you cannot see liner cracks from the roofline or the firebox, because the damage often sits mid-flue where flue gases are hottest. You need a CCTV flue camera, the standard tool for professional chimney sweeps. The camera runs up the flue on a cable and records video of every inch of liner surface.
What a camera inspection shows us, and what it tells you:
If the camera shows cracks, the repair options are full liner replacement with a DuraFlex stainless-steel liner, or HeatShield restoration, which resurfaces the interior of a clay liner in place. HeatShield is the repair we recommend for early-to-mid-stage damage because it preserves your existing fireplace and liner system without a tearout. A full DuraFlex replacement is the right call when the liner is too far gone or the homeowner wants a new liner’s lifespan.
Whatever the camera shows, you’ll see the footage. We show customers their flue video before recommending any repair. That’s how you know the recommendation is based on evidence, not a sales script.
If you want to understand what a sweep actually does during a Chimney Sweep in Rialto, that page walks through the full service, including how the camera documentation fits into the standard sweep.
5. Damper and Firebox: Function Checks You Can Do From Inside
The damper is the metal plate inside the throat of the chimney, just above the firebox. It opens to let smoke exit and closes to stop conditioned air from escaping when the fireplace is not in use. The firebox is the brick or metal chamber where the fire burns. Both are visible from inside your living room, and you can check them in ten minutes without getting on the roof.
Damper check:
Firebox check:
If the damper or firebox shows any of these issues, document them with photos and include them when you call for a sweep. The sweep will confirm the issue during the visit, and the camera inspection will show whether the damage extends up into the liner. This is the kind of evidence-based evaluation that keeps a minor damper issue from becoming a full masonry rebuild.
6. How to Document Chimney Condition With Your Smartphone Before Calling a Sweep
You don’t need a professional camera to create a useful chimney condition record. Your phone’s camera, used methodically, gives a sweep something no verbal description can: an objective baseline. Here’s how to do it, and what a technician actually needs to see.
The angles that matter:
What to write down with each photo:
Send these photos when you call to schedule your sweep. The technician arrives already knowing what to expect, and the photos serve as a before-during-after record. If we recommend HeatShield restoration for liner damage, for example, you’ll have your own photo set that shows the crown and cap condition at the time of the original visit, which helps track whether the restoration is holding up alongside the rest of the chimney.
This kind of documentation is exactly what we encourage from Rialto homeowners because it builds a maintenance history that a sweep can cross-reference year over year. One photo set per year, and you have a record of progressive issues that standard annual reminders won’t capture.
7. Seasonal Triggers in Rialto: When to Inspect, Not Just Annually
The standard advice is to inspect and sweep your chimney once a year. That’s correct, but Rialto’s specific weather patterns create specific inspection triggers that a generic annual calendar misses.
After Santa Ana wind events:
Santa Ana winds, typically between September and February, carry sand, dust, leaves, and sometimes embers from nearby brush fires. That debris lands on your roof and in your chimney cap and crown. Within 72 hours after a major Santa Ana event, go up and check the cap for debris accumulation, the crown for impact cracks from wind-driven objects, and the flashing for wind-lifted sealant. If branches or palm fronds hit the chimney, photograph the area even if you see no obvious damage. Wind-driven impacts can crack a crown without leaving a visible mark at first.
After extended summer heat:
Rialto’s summer heat, often over 100 degrees for consecutive days, bakes the crown and mortar joints. By late August or early September, before the burn season starts, do a crown and damper check. Reseal any cracked crown before the first November fire. Burning season is starting, and water has had all summer to find its way in.
Before the November – January burn window:
Schedule your actual sweep and camera inspection in October or early November. This gets creosote out of the flue before the first fire and lets the camera catch any liner damage that developed since the last inspection. It also positions you before the busiest period for chimney sweeps in Rialto, when demand for fireplace service spikes alongside the first cold nights.
After heavy rain (rare but hard on chimneys when it happens):
Rialto’s annual rainfall is low, but when a winter storm drops an inch or more in a day, water tests every seal on your chimney. After heavy rain, check the ceiling around the chimney chase for water stains. If stains appear, the flashing or crown has failed, and you’ll want the camera inspection before the next burn to check what’s wet inside the flue.
If you have a dryer vent:
While you’re checking the chimney seasonally, don’t overlook the other combustion-vent in your home. The dryer vent serving your laundry room carries lint, heat, and moisture, and a clogged vent is a fire hazard independent of the fireplace. If your dryer is taking longer than one cycle to dry a load, or if the top of the dryer gets hot during a cycle, your vent needs attention. Dryer Vent Cleaning in Rialto covers what’s involved and why we treat it as a fire-safety service, not a sideline.
Common Mistakes to Avoid
When to Call a Professional
Call a professional chimney sweep when your self-inspection turns up any cracked crown, bent or missing cap, loose flashing, or a damper that won’t seat. If you see water stains on the ceiling near the chimney, or if a camera would show liner cracks that your eyes can’t reach, the issue is already past the do-it-yourself stage. Also call a professional for the annual sweep and camera inspection before your first fire of the season, even when nothing looks wrong from the ground.
The sweep uses tools you won’t find in a homeowner’s garage: CCTV flue cameras, professional rotary cleaning equipment, and repair materials spec’d for the Rialto climate. If the camera shows liner damage, ask about HeatShield restoration as an alternative to full replacement. It’s the repair method that extends liner life without tearing out the existing flue. Chestnut Chimney Sweep offers free estimates in Rialto. Call (855) 360-4975 to schedule yours.
Frequently Asked Questions
Once per year, before the first fire of the season, is the right cadence for a Rialto chimney used regularly during the November – January burn window. If you burn more than three cords of wood per year, or if you see visible creosote buildup when you look up the flue with a flashlight, sweep twice per year. Gas fireplaces need an annual inspection as well, though they produce less creosote. Call (855) 360-4975 to schedule a sweep that fits your burn pattern.
A standard chimney sweep in Rialto typically ranges from $150 to $300, depending on the flue’s condition and whether you add a camera inspection. The camera adds $75 to $150 and is worth it: it shows liner cracks that a visual check misses. If you want a more detailed breakdown, call (855) 360-4975 for a free estimate specific to your chimney.
Not always. Cracked clay tile liners can sometimes be restored with HeatShield, which resurfaces the interior of the existing liner in place. The right call depends on how much of the liner is damaged and whether the tiles have begun to collapse. The camera video will show you exactly what’s there. Get the camera inspection before agreeing to any liner replacement. Call (855) 360-4975 and we’ll show you your flue footage.
Creosote builds up on the flue walls, hardens over summer, and becomes easier to ignite in winter. A creosote fire inside the flue burns hot enough to crack clay tiles and damage the surrounding masonry, and it often spreads into the chimney chase before anyone notices. Even without a fire, skipped maintenance lets crown cracks and flashing gaps leak water into the firebox and ceiling. Call (855) 360-4975 to get on the schedule before the burn season.
Yes, for the crown, cap, and flashing, as long as you can safely reach the roofline with a proper ladder and have another person home. Do not lean over the flue opening, and do not go onto the roof during high winds. The liner and lower firebox, however, require a CCTV flue camera and professional training to evaluate. Call (855) 360-4975 for the camera portion, which gives you a complete view your eyes can’t reach.
It is, because the dryer vent is a combustion-vent system in the same way a chimney is. A clogged dryer vent carries lint, heat, and moisture, and it’s a fire hazard even when the fireplace is never used. If your dryer takes two cycles to finish a load or the top of the dryer gets hot during a cycle, clean the vent. Call (855) 360-4975 and ask about adding a dryer vent cleaning to your chimney sweep appointment; one visit covers both.
The Bottom Line
A Rialto homeowner’s chimney maintenance checklist is six components in a specific order: crown, cap, flashing, liner, damper, and firebox. Inspect the crown, cap, and flashing after every Santa Ana wind event and after summer heat, not just on an annual calendar. Document what you see with smartphone photos and send them to your sweep before the appointment. Let the CCTV camera evaluate the liner and firebox, because that’s where the failures hide and where the evidence lives. If the camera shows liner cracks, ask about HeatShield restoration and DuraFlex replacement options before agreeing to a full tearout. And don’t forget the dryer vent, the other combustion vent in your home that carries the same fire-hazard stakes. Clean flue, safe home, done right.
Written by the team at Chestnut Chimney Sweep, serving Rialto since 2012.
See the difference
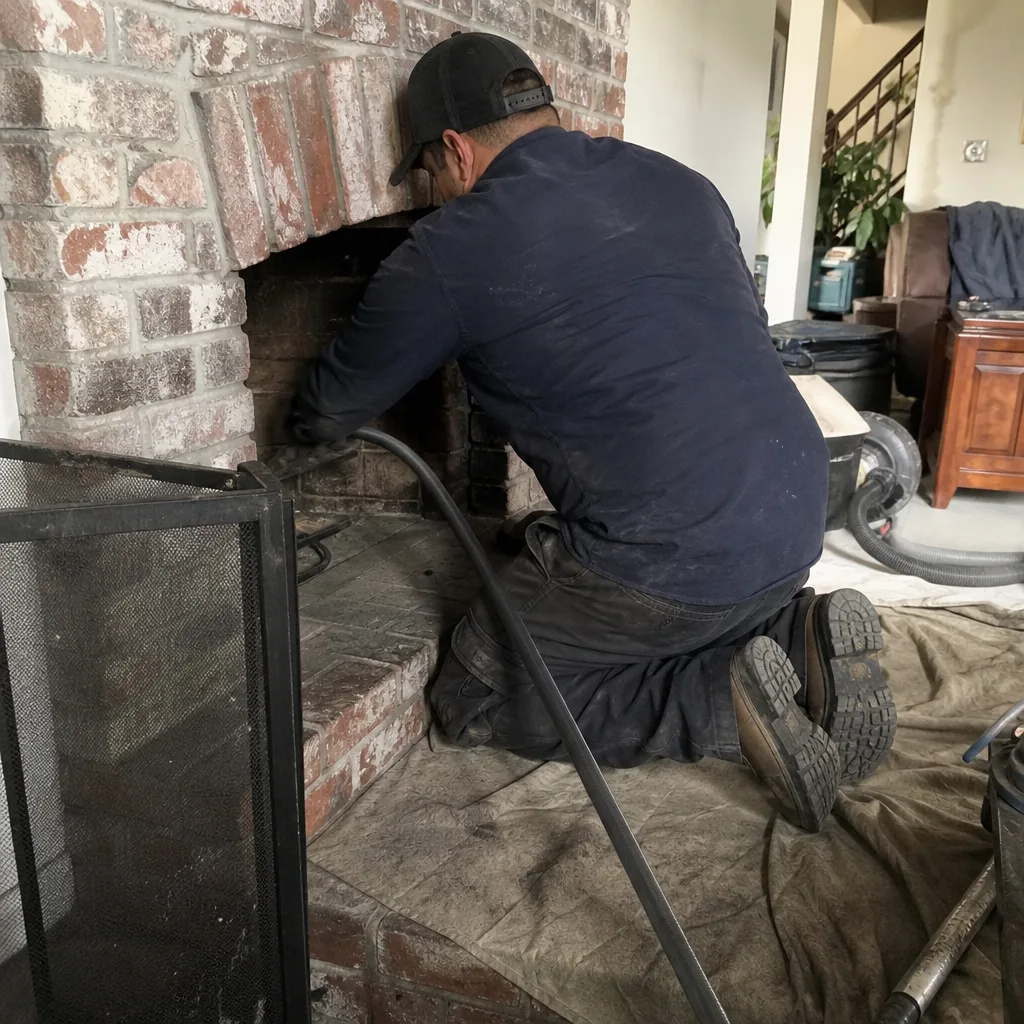 Before
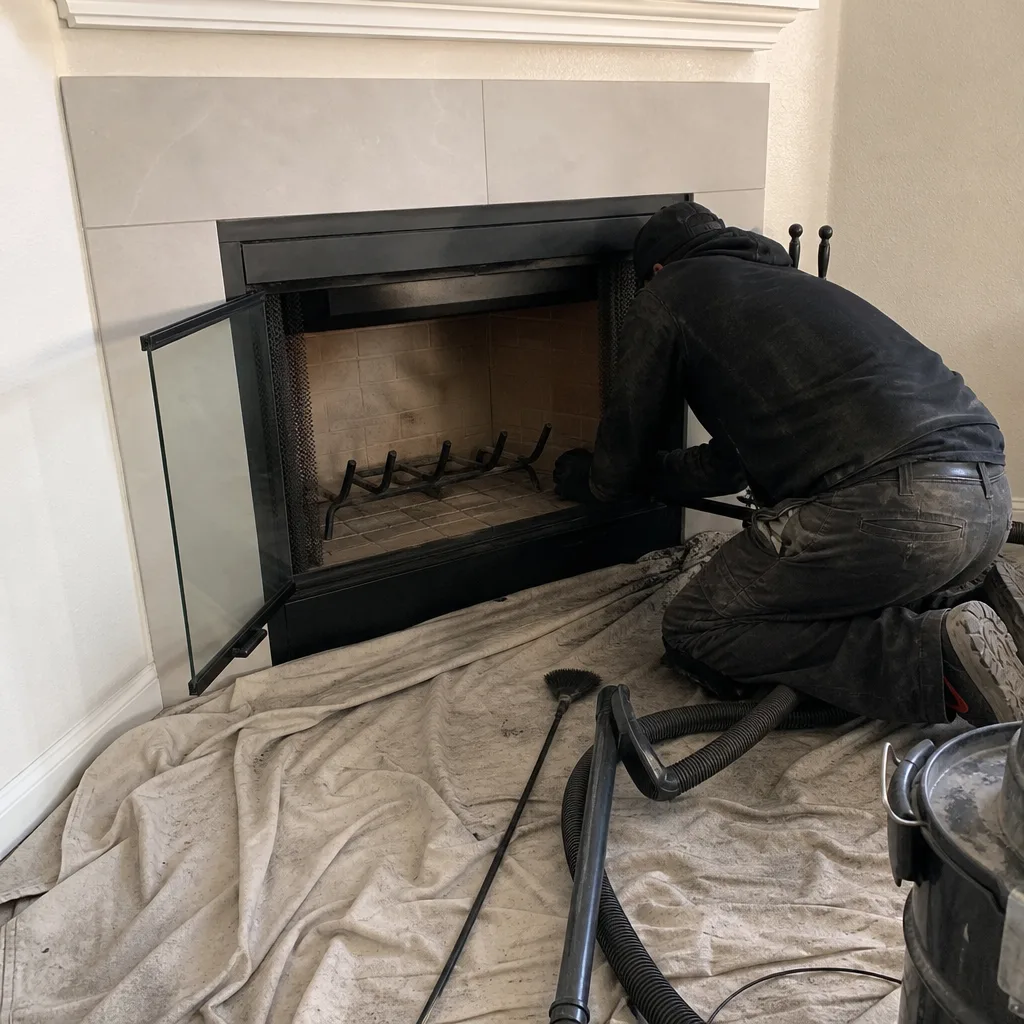 After
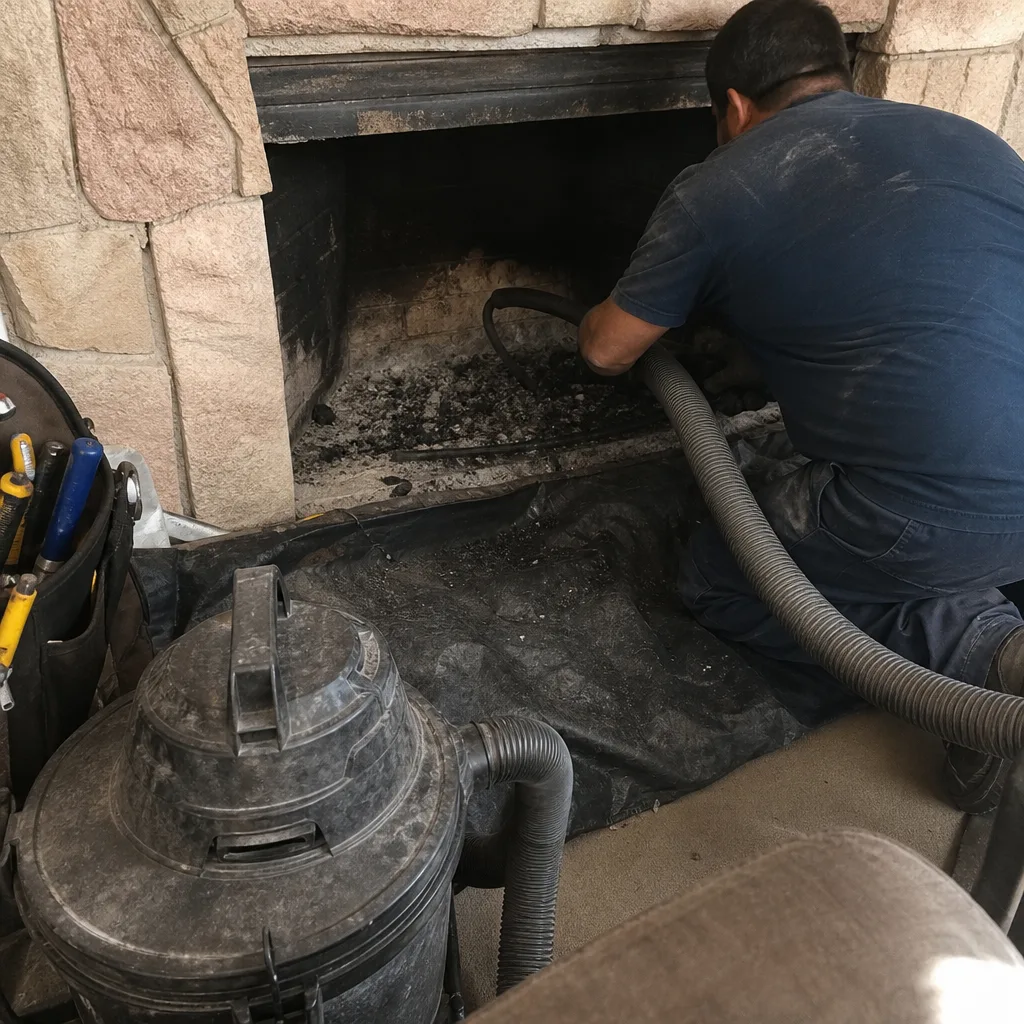 Before
 After
 Before
 After